
For many, manual cross-browser testing takes a lot of time and is a boring, repetitive job. Here is a practical example of how BrowserSync helps us test different browsers at the same time without any programming. In this blog, we're going to set it up and explore some good examples of where it's utilized. Here we go!
What does it do?
BrowserSync is an npm package that has the power to synchronize file changes and interactions across multiple browsers and devices.
By"synchronizing file changes and interactions across multiple browsers and devices", that means almost everything you do in one browser is watched and performs on other browsers and devices that you are connected to via BrowserSync.
You can open your IE, Chrome, and Safari on an iPhone at the same time, do whatever you need to do on one of them, and watch the same action be executed on the other browsers. You don't have to develop or maintain any steps because it's not an automation tool; it's a tool for manual testing, therefore, you can just 'plug and play'.
This is a big help when you have to check responsive designs, scrolling, clickable links, or images, etc. Awesome, right?
This is all possible because of the injection of an asynchronous script tag (<script async>...</script>) right after the <body> tag during the initial request. By now, we understand that the <body> tag must be present in order for this process to work.
How do we set it up?
It has an extremely simple setup. Let's check it out.
Since it is a Node.js package, you might want to go here and make sure you have it installed.
Assuming the previous step has been completed, just input:
npm install -g browser-syncAnd that's it, we're all set!
Now what?
There are 2 ways to use it:
1. You have the project source running on your local machine.
If this is the case, just run it inside the project folder (it requires the css folder with the .css files inside).
browser-sync start --server --files "css/*.css"![]() For this option, you can also have the LiveReload working simultaneously. You can go ahead and implement a css change and watch it re-load instantaneously on your browser without having to refresh.
For this option, you can also have the LiveReload working simultaneously. You can go ahead and implement a css change and watch it re-load instantaneously on your browser without having to refresh.

2. You have the project source running on somewhere else
For this, go ahead and run:
browser-sync start --proxy [URL] --files "css/*.css, *.html"
Replace `[URL]` with your project URL.
Example: browser-sync start --proxy https://www.avenuecode.com/ --files "css/*.css, *.html"
Open at least 2 browsers/devices on `https://localhost:3000` and have fun!
It works well with scroll, clicks (using xpath), field fill, Browserstack, devices under the same network, and tunnel for devices out of the network.
It doesn't work with mouse hover, and I have also found that it loses connection far too often with Safari.
| You can also run the commands by changing the default values. Read more about BrowserSync start here. |
More Features
Besides InteractionSync, it has some other awesome features: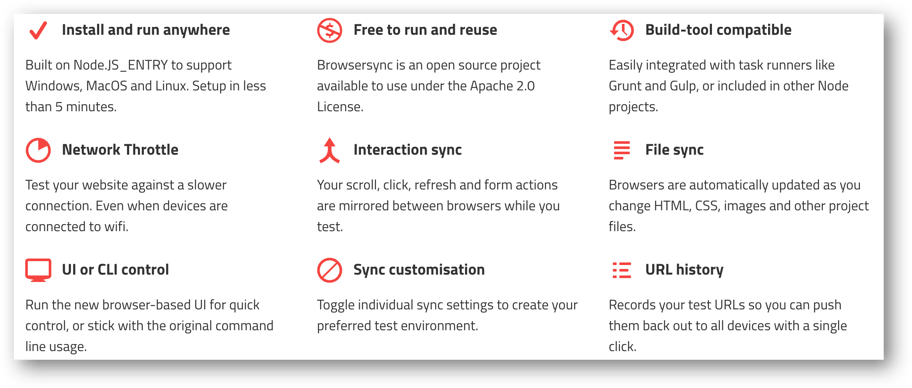
UI, Network Throttle, and URL history
To open the BrowserSync UI, just access http://localhost:3001 on your browser.
On the UI, you can see all the URLs that you can connect to BrowserSync, manage the Sync options such as mirroring clicks, see the URL history, add plugins, debug remotely, and set the Network Throttle. Take the time to explore these features!

Conclusion
It has been extremely helpful working with BrowserSync because it allows me to do all my tasks at once.
I'd love to hear your feedback on this tool. How does it work for you? Does it help with efficiency? Let's chat and see how we can further improve this tool.


