
Project documentation is often avoided by many tech teams. It can be challenging to determine what to document and when to do so, and there is even a debate on whether documentation is useful or not. In this article, we won't delve into these issues. Instead, we will focus on the developer experience when documenting projects and libraries.
Regular experience
When we work for large organizations, we may have access to sophisticated tools like Confluence, where teams write their guides, notes, and engineering teams write documentation about their projects, modules, libraries, etc. But do tools like these provide a good developer experience? My experience tells me that they don't.
When we use a tool separate from the codebase to keep documentation, things become outdated quickly, especially when we're covering low-level decisions. This happens because once we merge a pull request that changes what is defined in the documentation, developers often forget to update the wiki. They are more focused on writing code, merging pull requests, and closing tickets. Stopping to go back and update the wiki in a UI tool is boring and forgettable. Besides, it's hard for managers/leaders to notice that the documentation wasn't updated.
Another drawback is the lack of version control and review process. The lack of a review process is what catches my attention. Tons of documentation is badly written with many typos and wrong information. These issues could be solved by having a clear review process before publishing the documentation. Some tools have these features, but they may be paid, and your company might not have them. Besides, in terms of developer experience, it's bad to have to learn tools and processes just for documentation purposes.
Improving the developer experience
In the previous section, we saw how difficult it has been for developers and managers/leaders to handle the documentation process. We can make it easier and solve most of the issues by keeping the documentation and codebase together.
How will keeping documentation and codebase together improve our developer experience? We can summarize it in a few bullet points:
- Version control – Once we use git, we have the version control we are familiar with, with no extra learning curve.
- Review process – Once we use git, we can create merge requests and pull requests using the same tooling and process we are familiar with, with no extra learning curve.
- Workflow creating a story to be implemented by the developer, we can create a task/sub-task to update the docs. The developer can include this ticket in their pull request, ensuring that the documentation is up to date and that the developer is not struggling with the process because all the work is in the same pull request.
Let’s get our hands dirty
In the following lines, I will talk about the process of keeping code and documentation together, focusing on GitHub repositories. This may not be 100% applicable if you are using a different git provider.
Some time ago, GitHub released an interesting wiki feature where we can create wiki repositories attached to our main repository and write/read documentation from there. GitHub provides a UI to operate over the wiki repository, and we can write using many markup languages like Markdown.
That sounds good, right? But we still have the root of our issues here: GitHub's wiki is kept in a different repository from our codebase. Let's define what we should do to keep the documentation and codebase together:
- Define a markup language for our docs; let's go with Markdown.
- Create a documentation folder in the main repo; we're keeping all the docs here.
- Create the wiki repository using GitHub UI.
- Configure a CI tool to keep the wiki repository up to date with the files we have in the documentation folder. The intent here is to make the GitHub UI read-only; all the text changes are propagated from the documentation folder. We can do that by using Jenkins or Travis CI, but for the sake of simplicity, let’s use GitHub Actions.
Creating the Wiki Repository
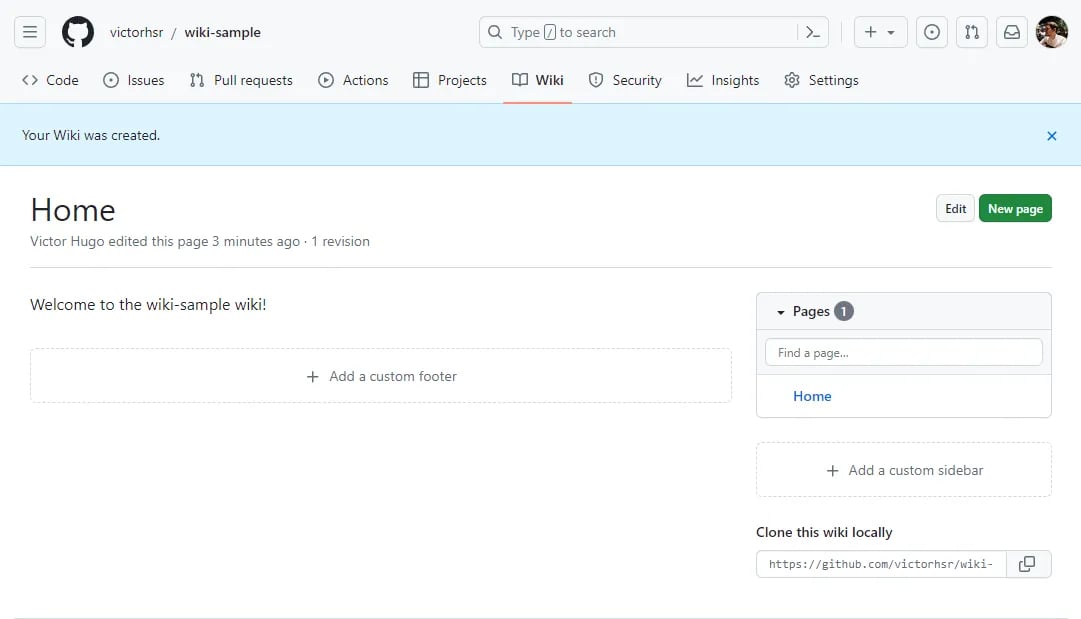
When we first go to the Wiki tab, we will be asked if we want to create our first page. If we click on "Create the first page", a repository will be created to store the wiki files. The name of this repository is the same as the main repository with a suffix of wiki.git.
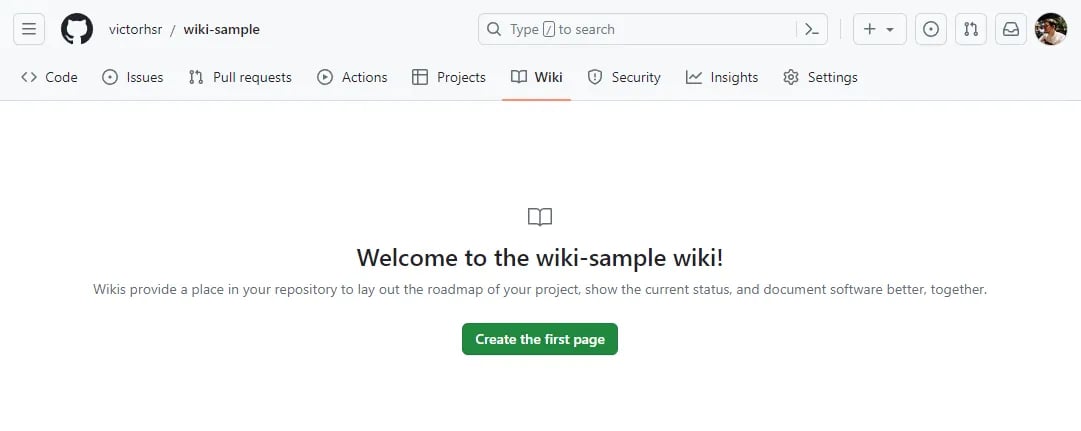
My main repository is https://github.com/victorhsr/wiki-sample. In this case, my wiki repository will be https://github.com/victorhsr/wiki-sample.wiki.git.
Setting up our CI tool
The CI tool will read from our main repository and then write it to the wiki repository. We chose GitHub Actions because it's free for public repositories, and you can quickly set it up on your repository for testing purposes.
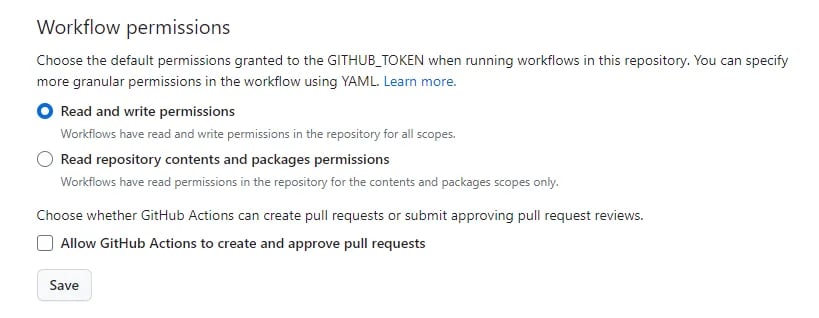
Remember that we will change the repository through GH Actions, so we need to grant writing permissions to the CI. To do that, go to the repository's settings > Actions > General. At the bottom of the page, you'll see the Workflow permissions section. Click on Read and Write permissions and save.
 In GitHub Actions, jobs are declared in a workflow, and the definitions of this workflow and jobs are described in a YAML file inside the .github/workflows folder. Therefore, let's add this file to our source repository. I'm just calling it wiki.yml.
The workflow file should look like the following:
# Name of the workflow, you'll see that on GitHub Actions menu
name: Wiki action

# Defining when we're triggering the workflow
on:
  push:
    branches:
      - main

jobs:
  # Declaring our job which is going to mirror the wiki repository with our content
  update-wiki:
    # The job runs in an environment that we can customize
    runs-on: ubuntu-latest

    # In order to make troubleshooting easier let's break it into multiple steps
    steps:
      # Cloning the source repository
      - name: Checkout source repository
        uses: actions/checkout@v3
        with:
          path: source

      # Cloning the wiki repository
      - name: Checkout wiki repository
        uses: actions/checkout@v3
        with:
          path: wiki
          repository: victorhsr/wiki-sample.wiki
          # These lines will do the trick, when it comes to access rights.
          # At the start of each workflow run, GitHub automatically creates a unique GITHUB_TOKEN secret to use in your workflow.
          # You can use the GITHUB_TOKEN to authenticate in a workflow run.
          token: $
          persist-credentials: true

      # Mirroring our documentation folder to the wiki repository
      - name: Copy repository content
        run: |
          rm -rf wiki/*
          cp -r source/documentation/* wiki

      - name: Commit and push changes
        run: |
          cd wiki/
          git config user.name "GitHub Actions"
          git config user.email "<>"
          git add .
          if [[ -n $(git diff --cached --name-only) ]]; then
            git commit -m "Updated from GitHub Actions"
            git push origin master
          fi
Once we push this file to our repository, the workflow will be executed the next time we modify our main branch. Now, we only need to create our documentation files. For example, we can create two pages under the "documentation" folder and embed an image to showcase the power of Markdown and GitHub Wiki together.
<!-- Home.md file-->
# Home!
This documentation is coming from our main repository!
You'll find a full sample using markdown here!
## Headers
# H1
## H2
### H3
#### H4
##### H5
###### H6
## Emphasis
*Italic*
_Italic_
**Bold**
__Bold__
***Bold and Italic***
___Bold and Italic___
## Lists
### Unordered List
- Item 1
- Item 2
- Nested Item 2.1
- Nested Item 2.2
- Item 3
### Ordered List
1. First item
2. Second item
3. Third item
## Links
[OpenAI](https://openai.com)
[Google](https://www.google.com "Search Engine")
## Images

## Code
`Inline code`
```python
def greet(name):
print(f"Hello, {name}!")
```
## Blockquotes
> This is a blockquote.
> It can span multiple lines.
## Horizontal Rule
---
## Tables
| Name | Age |
|-------|-----|
| John | 25 |
| Alice | 30 |
| Bob | 35 |
## Task Lists
- [x] Task 1
- [ ] Task 2
- [ ] Task 3
<!-- Image.md file-->
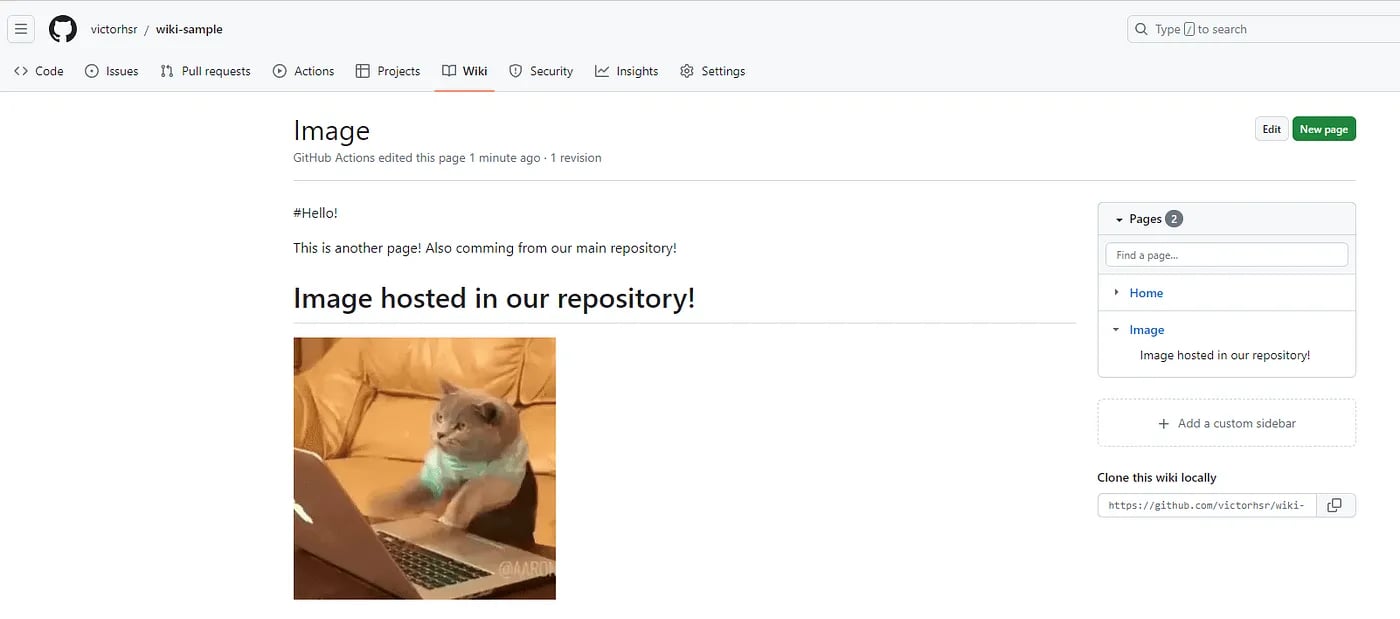
#Hello!
This is another page! Also coming from our main repository!
# Image hosted in our repository!

I have also included an image inside the documentation/images folder. We will render it in the Image.md file. Let's push everything to our repository and see the magic happen!
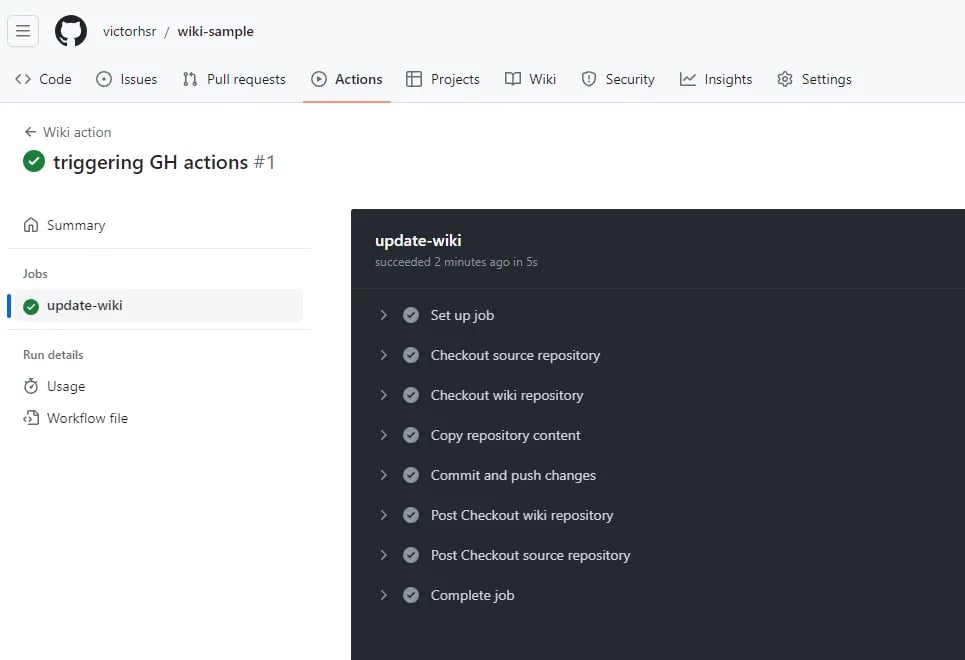 When the job is completed, we can browse to the Wiki tab and see our pages there.
Here we're finishing the article. I hope this content has given you some insights about how we can make documentation a friendlier process, improving the developer experience. The project I created as a sample for this article can be found here.


