This is the second part of my previous post on Encryption using Mule. In the previous post in the JCE Encrypter configuration, I did not use Keystore. This week, I will create a Keystore and use it for encryption.
Getting Our Hands Dirty
First we will create a Keystore using Keytool that comes with JDK. After that we will create a simple project and use the generated keystore for message encryption.
Create Keystore
JDK comes with its inbuilt tool Keytool to create keystores. First, let’s create a keystore using the native Keytool.
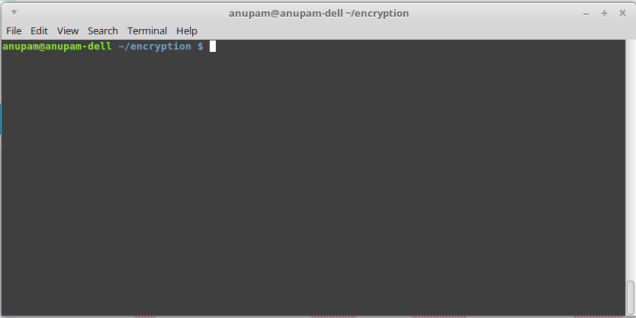
Let’s create a temporary directory. I have created a temporary directory named encryption as shown below:
Now let’s execute the following command: keytool -genseckey -keystore aes-ackeystore.jck -storetype jceks -storepass acstorepass -keyalg AES -keysize 128 -alias ackey -keypass ackeypass
After execution of the command a keystore aes-ackeystore.jck is generated in the directory. Basic things to point out in the command are as follows:
Name of the keystore: aes-ackeystore.jck
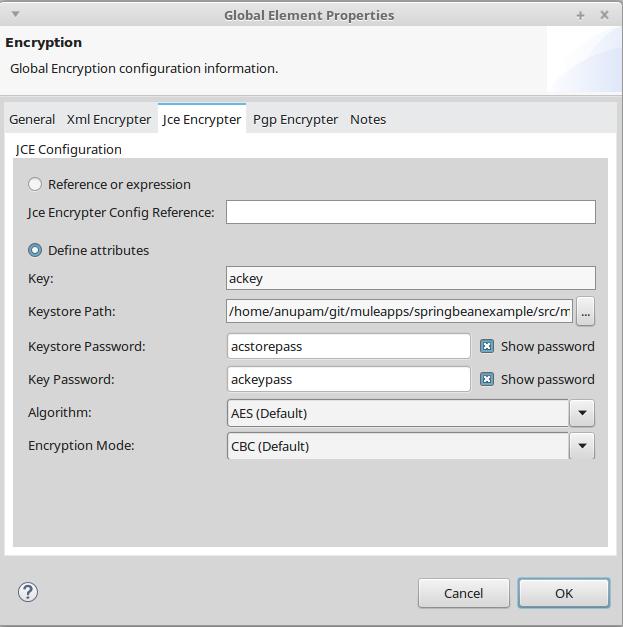
Password of the keystore: acstorepass
Name of the key: ackey
Password of the key: ackeypass
These elements constitute the principal information that we need to configure our JCE Encrypter using keystore.
Create a Simple Mule Project
Please refer to the previous post on Anypoint Enterprise Security module installation. Let’s create a simple Mule Maven project using Anypoint Studio. The most important point is to add the following repository in the pom.xml file:
<repository>
   <id>mulesoft-public</id>
   <name>MuleSoft Public Repository</name>
   <url>https://repository.mulesoft.org/nexus/content/repositories/public/</url>
   <layout>default</layout>
</repository>
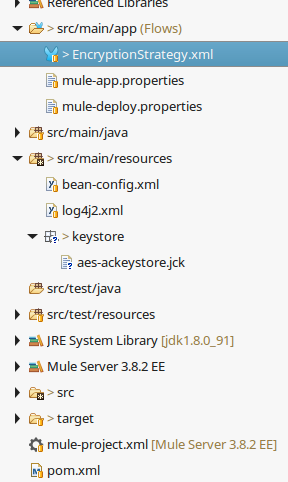
Please note that I have copied the generated keystore (in the previous step) to the resource folder of the project. Here is a screenshot of the project structure:
Creating a Simple Flow
Let’s create a simple flow. The scenario is as follows. We send some JSON data to an HTTP endpoint. Then the JSON data is encrypted using JCE Encryption Strategy and we log the encrypted data. After that we simply decrypt the encrypted data and log it. Here is diagram of the flow.

Digging Into JCE Encryption
Step 1
First let’s configure a global Encryption element.
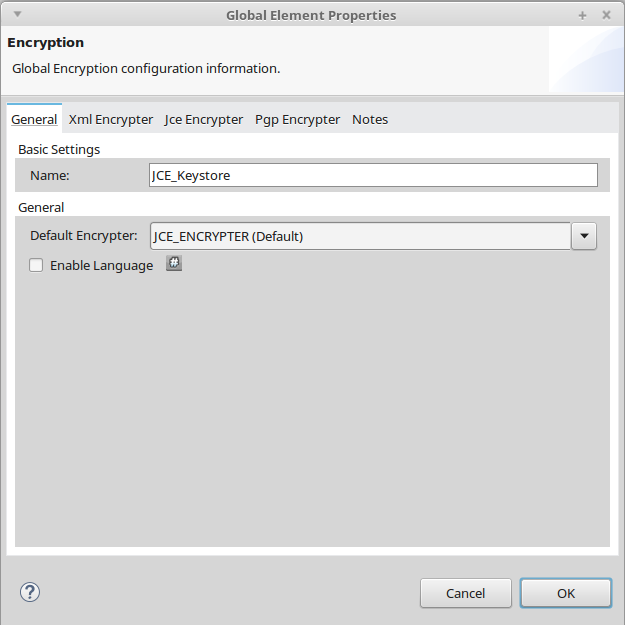
Do mind it to select the Default Encryptor dropdown as JCE_ENCRYPTER. I have named the global element as JCE_Keystore.
Then select the JCE Encrypter tab and configure it as shown in the diagram,
Step 2
Now after configuring the global Encryption element in step 1 let’s configure the Encryption component (labeled as Encrypt in the flow. This is an Encryption palette found under the Security category of Mule palettes). Here is the screen shot,
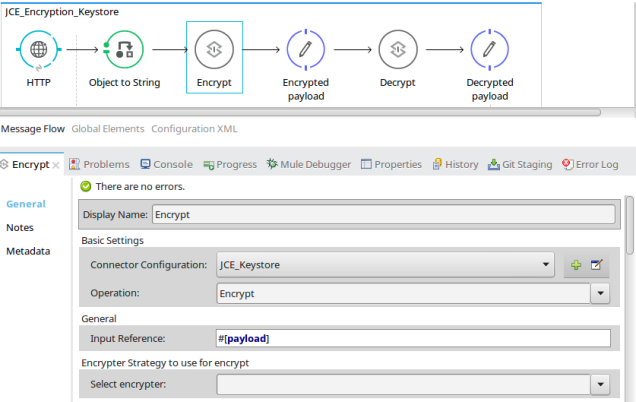
In the Connector Configuration please select the global encryption element(JCE_Keystore) that we have defined in step 1. In the Operation dropdown select Encrypt. In the Input Reference field I am putting the whole payload (JSON data) for encryption. Do remember that you can use MEL expression here to encrypt some part of the payload too. And that’s it! No more configuration is needed; you are ready to go.
Step 3
In the step 2 we have encrypted the message. Now let’s decrypt the encrypted message. Here we are going to configure the component labelled as Decrypt. It’s nothing but an Encryption palette found under the Security category of Mule palettes. Here is the configuration:
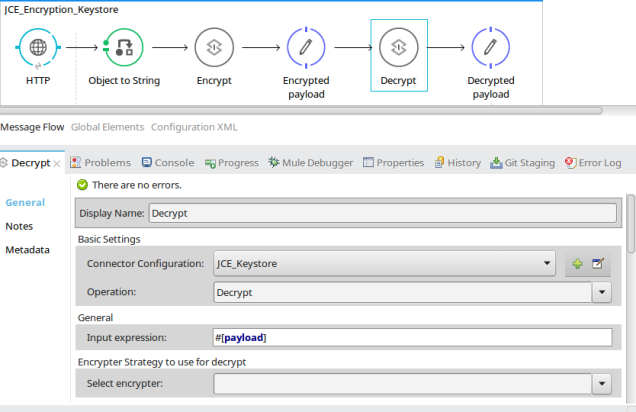
The configuration is almost same as that for encryption. The only difference is the Operation: Decrypt.
Testing
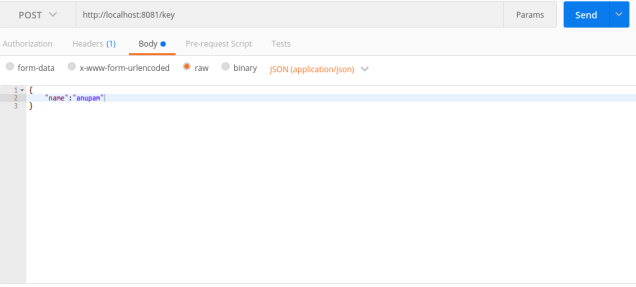
Now, let's run the project! After running the project, send a POST request with JSON payload. I am using Postman for this operation. Upon observing in the Anypoint console, you can see the encrypted message as well as decrypted message:
Sample log in Anypoint console:
INFO  2016-12-10 21:23:26,602 [[springbeanexample].HTTP_8081.worker.01] org.mule.api.processor.LoggerMessageProcessor: XjeegDtusFQSovOSxqZgr1j5oCUYypD4/7X6NjworIQ=
INFO  2016-12-10 21:23:26,613 [[springbeanexample].HTTP_8081.worker.01] org.mule.api.processor.LoggerMessageProcessor: {
    "name":"anupam"
}
Hope this is useful to some of our readers! Feel free to add your questions in the comments below. All source code can be found here.
Author
Anupam Gogoi
Anupam Gogoi is an Integration Engineer at Avenue Code. He has been working in software development for about 9 years, implementing solutions in Java technologies as well as in SOA domain. He is a hardcore JAVA and MIDDLEWARE evangelist.


